

Unlocking Your Child’s Adventure: How to Get a Child Passport Easily


Applying for a child passport involves several steps to ensure that your child can travel internationally. Here is a step-by-step guide to help you through the process:
Step 1: Gather Required Documents
Before you begin the application process, make sure you have the following documents and information ready:
- Proof of U.S. Citizenship: You’ll need to provide evidence of your child’s U.S. citizenship. This can include a birth certificate, Certificate of Citizenship, or Consular Report of Birth Abroad.
- Proof of Parental Relationship: You must prove your relationship to the child. This can be done with birth certificates, adoption decrees, or court orders.
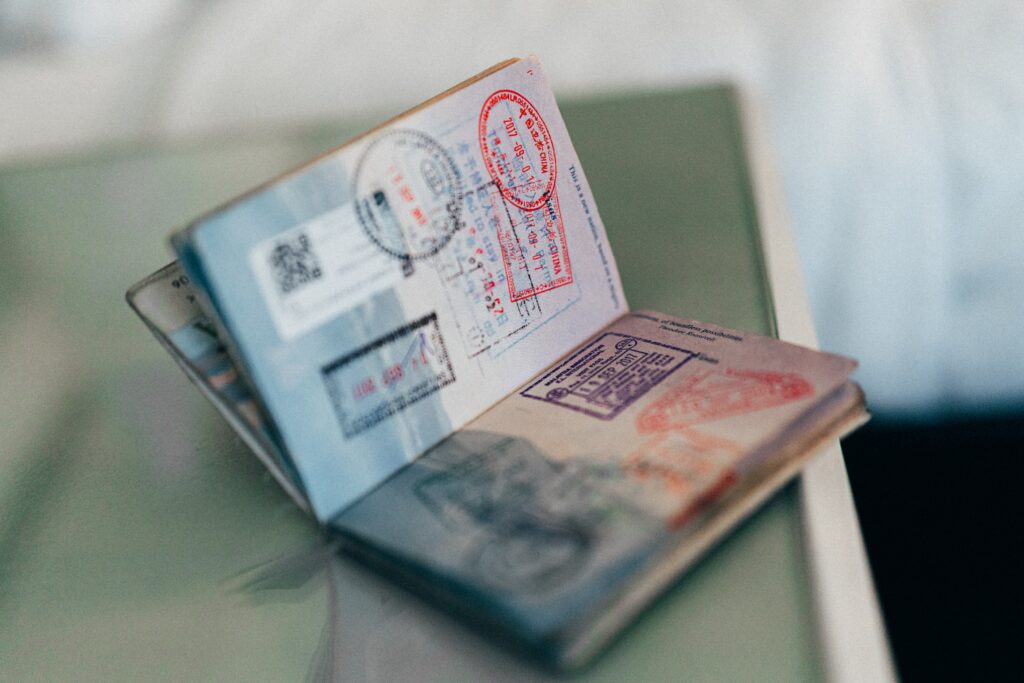
- Passport Application Form: Fill out Form DS-11, the Application for a U.S. Passport. You can obtain this form at a local passport acceptance facility, or you can download it from the U.S. Department of State website.
- Passport Photo: Take a recent passport photo of your child. This must meet the U.S. passport photo requirements. Many pharmacies and photography studios offer passport photo services.
- Identification: Both parents or guardians must provide a valid form of identification (e.g., driver’s license, U.S. passport, or military ID). If only one parent can appear in person, they will need to provide a notarized consent form from the absent parent.
Step 2: Visit a Passport Acceptance Facility
Locate a nearby passport acceptance facility. These can include post offices, public libraries, and some government offices. Call ahead to make an appointment if required.
Step 3: Complete the Application Form
Fill out Form DS-11. You should not sign it until you are instructed to do so in front of a passport acceptance agent.
Step 4: Provide Proof of Parental Relationship
Submit the documents proving your parental relationship to the child.
Step 5: Pay the Applicable Fees
Passport fees vary depending on the child’s age and whether you are getting a standard or expedited passport. Check the latest fee information on the U.S. Department of State website and be prepared to pay with a check or money order.
Step 6: Passport Photo
Provide the recent passport photo of your child.
Step 7: Take the Oath
When you are at the acceptance facility, both parents (or the one present) will need to take an oath that the information provided is true and accurate.
Step 8: Submit the Application
Submit all the required documents, including the application form, proof of citizenship, parental relationship, photo, and payment, at the acceptance facility. The acceptance agent will review your documents and witness the signing of the application form.
Step 9: Processing Time
The processing time for a child’s passport can vary. You can check the status of your application online using the provided tracking number.
Step 10: Collect the Passport
Once your child’s passport is ready, you will receive a notification. You can choose to pick it up in person at the acceptance facility or have it mailed to your home.
Remember to start the process well in advance of your travel plans to ensure your child’s passport is ready when you need it. Also, check the U.S. Department of State website for any updates or changes in requirements and processing times.
Have any further questions? Reach out to me at chelsee@anywhereeverywheretravel.com

